In this guide, you will learn how to set up your Eventbrite Sales Pixel.
Step 1: Go to your Manage Page in Eventbrite
Log into your brand's Eventbrite account. From your event's Manage page, go to Analyze, click on "Tracking Pixels," then select "Simple Image Pixel." You can add conversion events by selecting what page you want your pixel to fire on, then adding the URL for your image pixel.
1. Go to your Manage page.
Step 2: Select "Tracking Pixels"
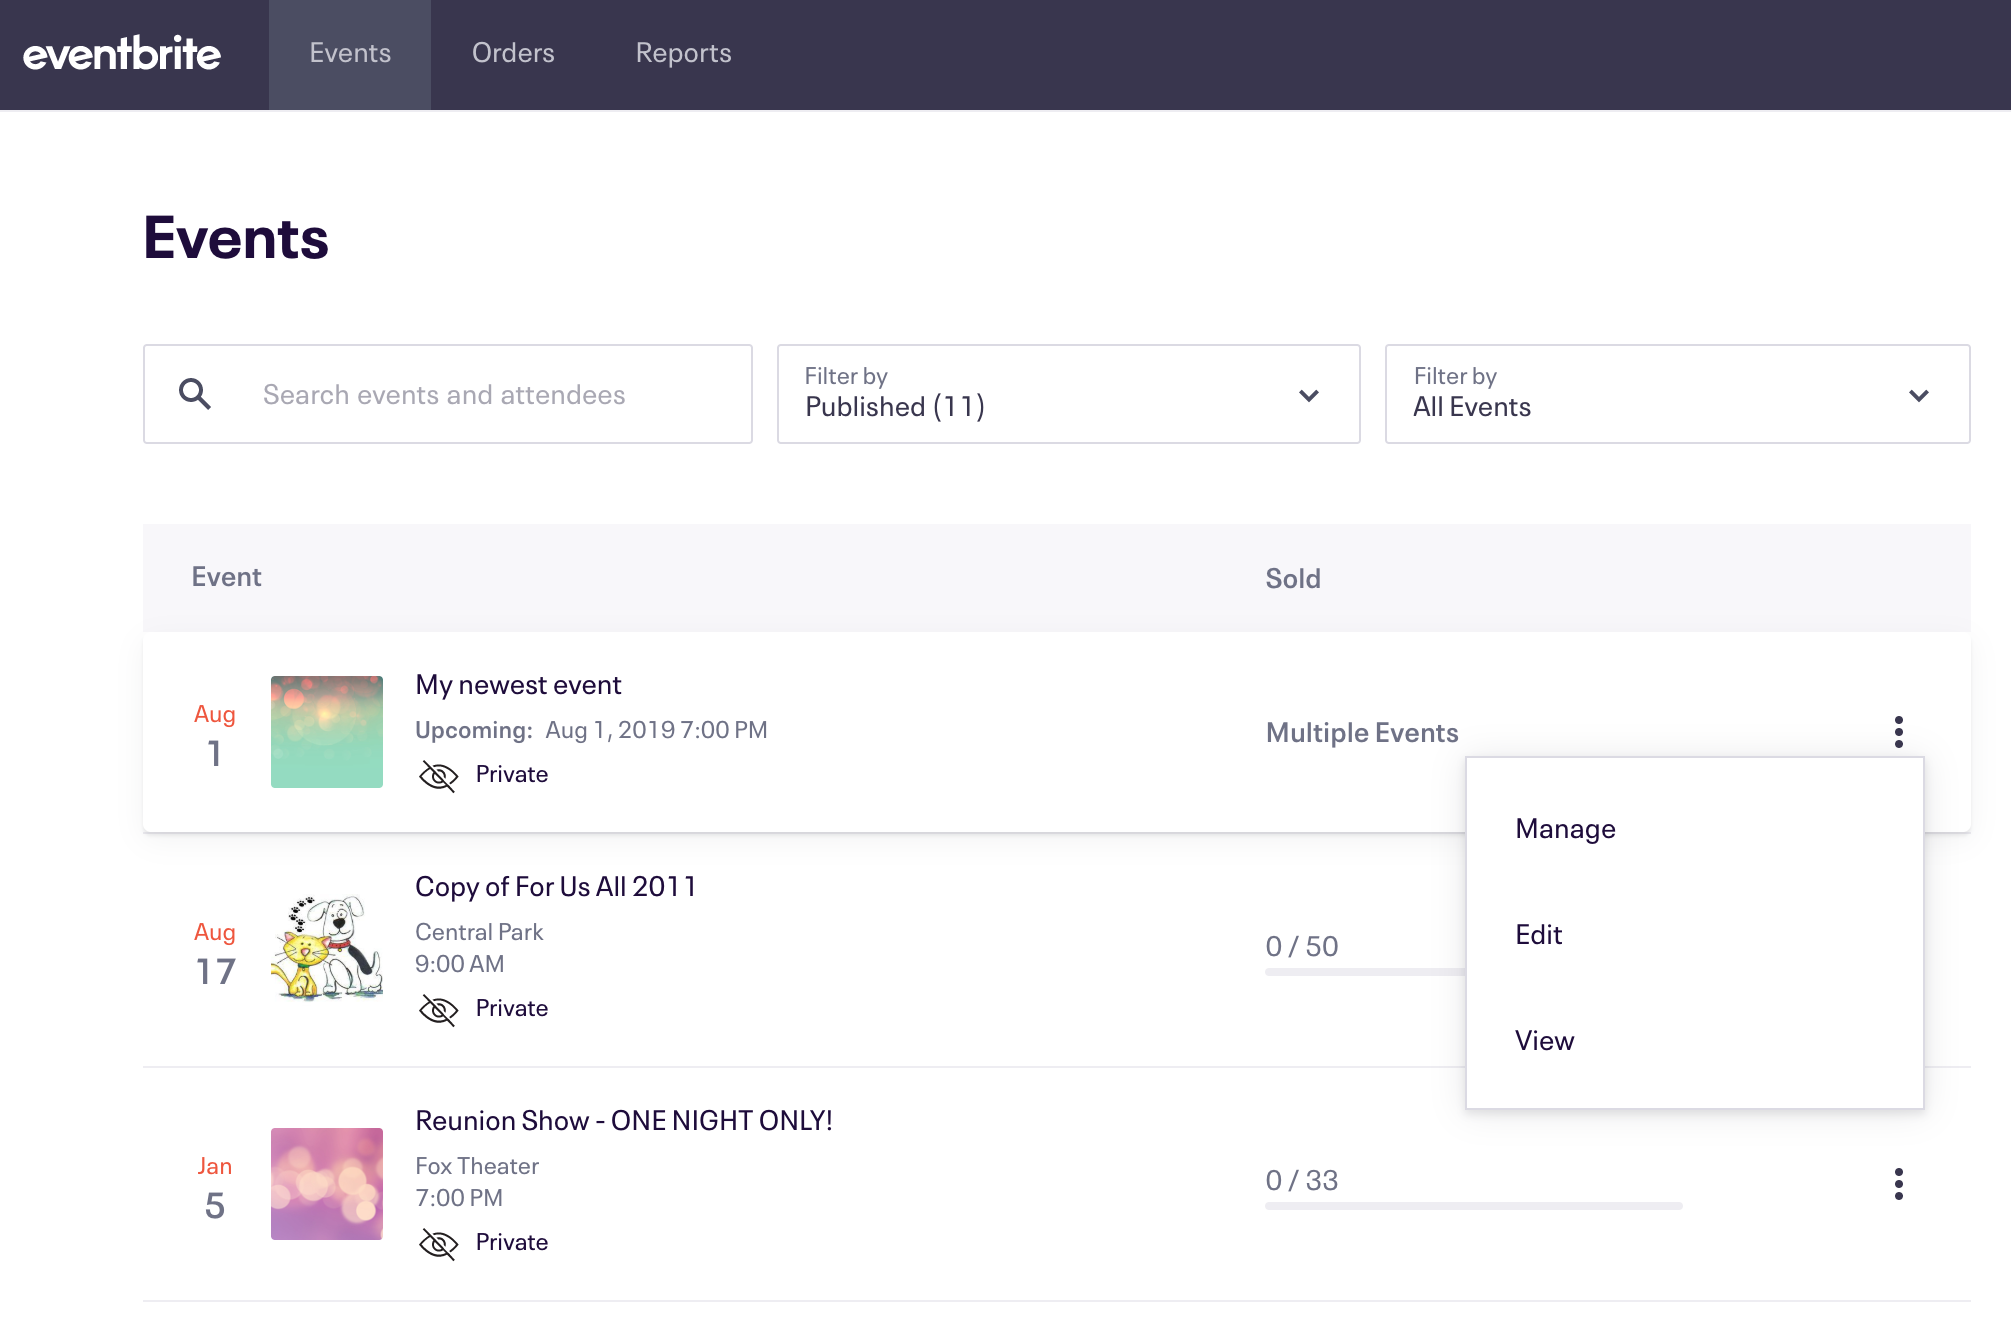
Manage Events is the third option in the account menu, and the Manage link is located under your event's name.
After you log in and create an event, click or tap on your event from the Manage Events page, then select "Manage."
2. Select "Tracking Pixels" (under Analyze).
![]()
Step 3: Choose "Simple Image Pixel"
Analyze is the fifth section in the Options Menu, and the Tracking Pixels link is fourth in this section. In the options menu, scroll to the middle until you see the "Analyze" section.
3. Choose "Simple Image Pixel."
![]()
Step 4: Apply the Image Pixel to the Event
You have several options available on the Tracking Pixels page. Choose "Simple Image Pixel" to get started.
4. Apply the simple image pixel to this event or all your Eventbrite events.
![]()
Choose whether you want the simple image tracking pixel to apply to just this event or all the events in your Eventbrite account.
TIP: If you add the Tradable Bits Sales Tracker to an event with multiple dates and times and choose "This Event," it applies to all events in your event schedule. You can't add a tracking pixel to just one event in your event schedule.
NOTE: If you add the Tracking ID to “This Event”, it only applies to that individual event and won’t be copied to a new event if the event is copied.
If you add the Tracking ID to “All Events”, it applies to every event in the Eventbrite account, and when the event is copied, the Tracking ID will also be copied.
Step 5: Select "Add Conversion Event"
5. Select "Add Conversion Event."
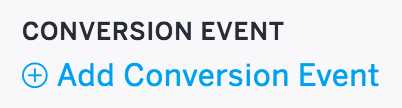
Under "Conversion Event," click on "Add Conversion Event."
TIP: You can remove a conversion event from your tracking pixel by simply clicking "Remove."
Step 6: Select the "Event Order Confirmation" Page
Select the "Event Order Confirmation" page, this is what will trigger the Sales Tracker for Tradable Bits.
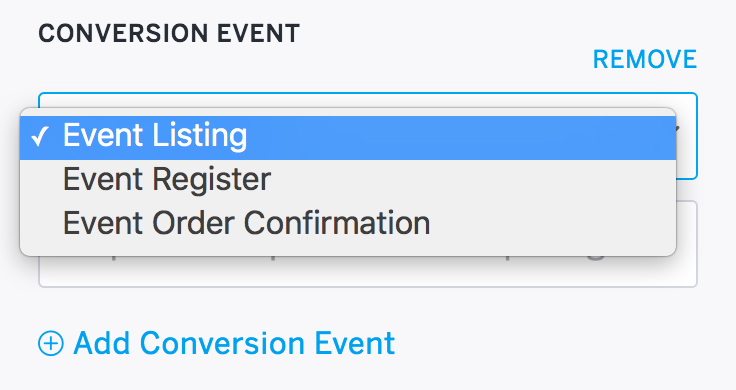
Event Order Confirmation:
The order confirmation page attendees see after successfully completing an order for your event.
Step 7: Add the no-script TBits Sales Tracker URL
Add the no-script Tradable Bits Sales Tracker URL to your simple image pixel on Eventbrite.
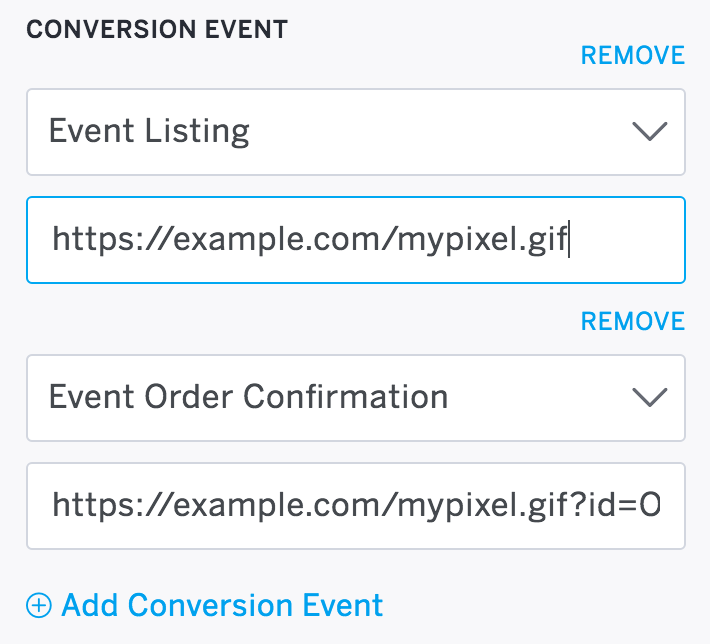
Copy and paste the URL for your Tradable Bits Sales Tracker.
Each account has a unique Tracker URL. Once you copy the Tracker, make sure to substitute "ORDERTOTAL" and "ORDERID" as shown below.
For Example
https://tradablebits.com/pixels/1000/event?event_name=purchase&event_amount=ORDERTOTAL&order_key=ORDERIDThis URL always starts with "https://" and is the full URL within the quotes after src = within your image pixel code.
PRO TIP: You can include information about each transaction in tracking pixels loaded on the order confirmation page. All you have to do is include one of these three strings in the URL and we'll substitute the correct value at the time of purchase:
ORDERTOTAL: The total amount charged to the customer. This will be set to 0 for free orders.
ORDERID: The Order ID for this transaction.
ORDERCURRENCY: The currency used for the order, like USD, AUD, or CAD.
Step 8: Save your changes.
Your changes aren't saved automatically, so make sure hit "Save" when you're done.