This quick guide will walk you through connecting your SFMC to Tradable Bits for a seamless data transfer.
Push your subscribed Tradable Bits audiences directly to your Salesforce Marketing Cloud
The Tradable Bits- SFMC endpoint allows you to push the subscribed fans in your Tradable Bits database over to Salesforce Marketing Cloud, so you can enrich your regular email marketing audiences. This includes fans that have opted into communication with you through one of your Tradable Bits engagement campaigns.
Set Up Steps:
To set up your SFMC Endpoint, you will need to add Tradable Bits as a connected app on your Salesforce account. We recommend reading the Salesforce Guide on How to Create a Connected App, to understand the terms you will be plugging in.
We'll walk you through specific details needed to set up the Tradable Bits App. You can also skip through Configure Basic Connected App Settings and read through Salesforce guides here: Client ID & Secret
We'll begin in Salesforce Marketing Cloud and then move to Tradable Bits to complete this set up!
SFMC Side:
1. Install New App Package:
1. To begin, click on your profile settings and go to Setup

2. In Setup, go to Apps > Installed Packages
3. In Installed Packages click on New
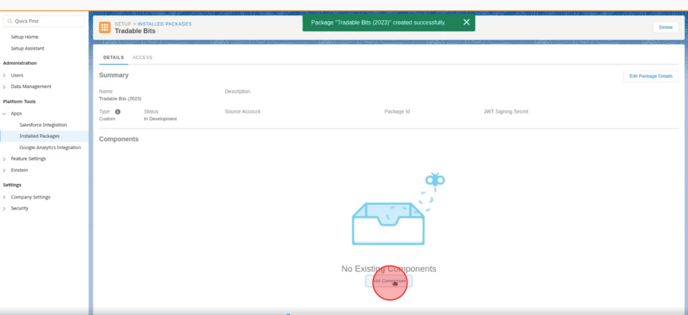
4. In New Package Details, give your package a name. We recommend naming it Tradable Bits or anything that will allow you to clearly differentiate it's purpose. Then click Save

2. Add Components to your App Package:
1. Now that you have your app package set up, add components by clicking on the Add Components button
2. Choose API Integration as your Component Type
3. Choose Server-to-Server as your Integration Type
4. Add Read and Write Data Extensions to your component 
5. Double Check your Set-up in the Details Summary and take note of Client ID and Secret under components
Confirm:
Component Type = API Integration
Integration Type = Server-to-Server
Scope = Data Extensions Read & Write
6. Copy your Client ID and Client Secret from step 5
Be sure to save your Client ID, Client Secret, Data Extension, Authentication URL & MID (account ID) somewhere secure as you will need it to complete the set up in Tradable Bits.
Core Data Extension Fields
- fan_id: Number
- email: Text (255)
- first_name: Text (255)
- last_name: Text (255)
- source: Text (255)
- phone: Phone
- is_subscribed: Boolean
-
The Data Extension you include must have a field designated as a primary key. Tradable Bits data will not be received by SFMC if the data extension does not have a field designated as the primary key. This can either be email or fan_id.
-
Custom Fields that are a checkbox (i.e. true/false type question) must be set up as Boolean values with False as the Default Value. When passing on information, Tradable Bits will pass the value True when the custom field is checked, and retain the value false when it's not. (i.e. our system assumes that an un-checked box is equivalent to a "false statement."
Tradable Bits Side:
1. Login in to your Tradable Bits account and click on your account details in the top right corner
2. Select Integrations from the dropdown menu

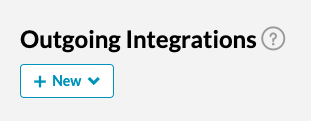
3. Select Outgoing Integrations from the menu on the left
4. Hit the +New button and select Salesforce Marketing Cloud from the dropdown menu under the email section
5. Name your integration and input your Client ID, Client Secret, Authentication URL and MID that you noted down in the last step of the SFMC side set up

6. Click into the Manage Sources tab to select the source type and values that you want pushed. Click add
7. Test your integration to ensure proper connection

That's all! If you have further questions, please reach out to your Customer Success Manager or contact support@tradablebits.com