Note: Before you read the “how to do it” make sure you understand the “what and why to do it”. Get caught up on the capabilities of Data Cube by reading up on the Introduction to Sales Reporting
To begin, head to Sales > Data Cube. You can create a breakdown report by querying up to 3 search fields at a time and then clicking Search.
First off, let’s dive into some definitions:
Definitions:
Begin by populating any desired search parameters to narrow your search. We highly encourage adding a Purchase Date range to begin.
Note: Venue names are initially pulled from your ticketing integrations, but you can create new venues/ match multiple venues to one in “cleanup”.
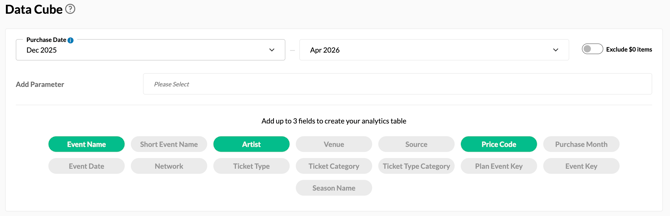
Next, you can choose up to 3 fields at a time to populate your analytics table. If you do not add any, the default fields # of Orders (Sales), Amount and Quantity (Seats) will appear when you click search
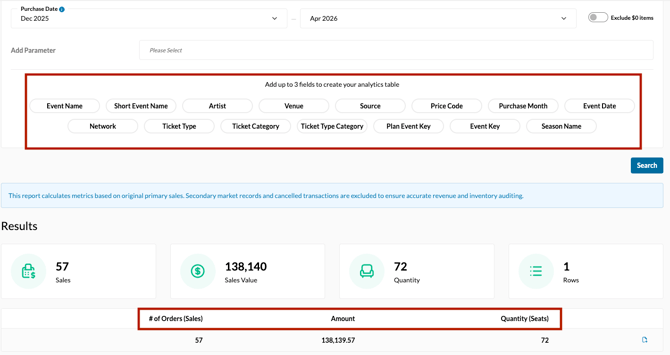
Note: For accurate revenue and inventory auditing, the sales data here reflects only primary active ticket sales. Secondary sales data, meaning tickets that have been transferred, resold, refunded, or cancelled, are excluded.
Choose Your Fields:
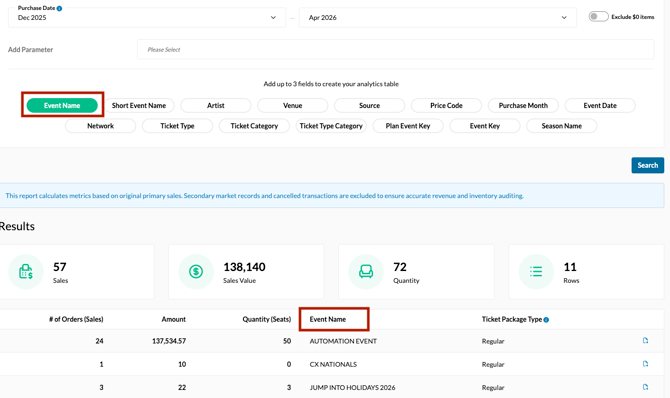
1. Event Name: The name of your event. This name is also pulled from your ticketing integration.
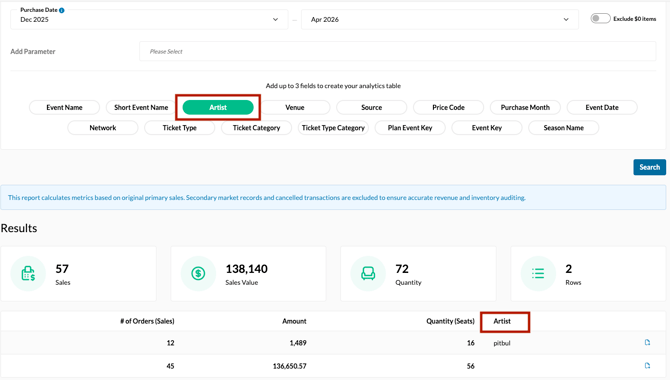
2. Artist: Our system will automatically match the artist_name field from your ticketing provider
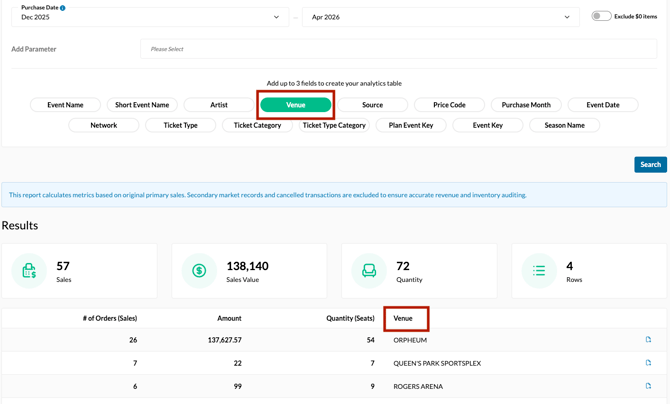
3. Venue: Event venue
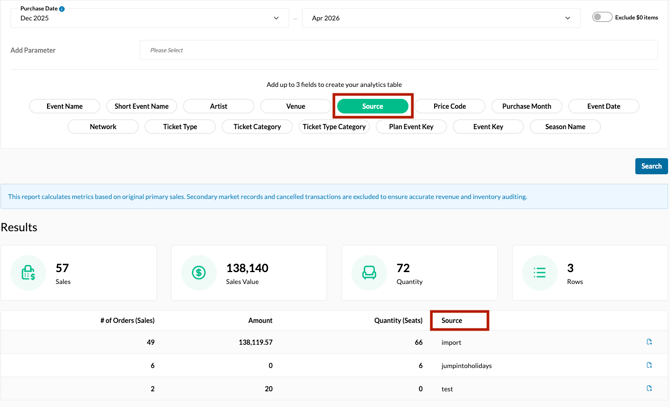
4. Source: Reflects a Customer DSN in our backend that allows you to see where your purchasing information is coming in from with a more specific identifier than the Network
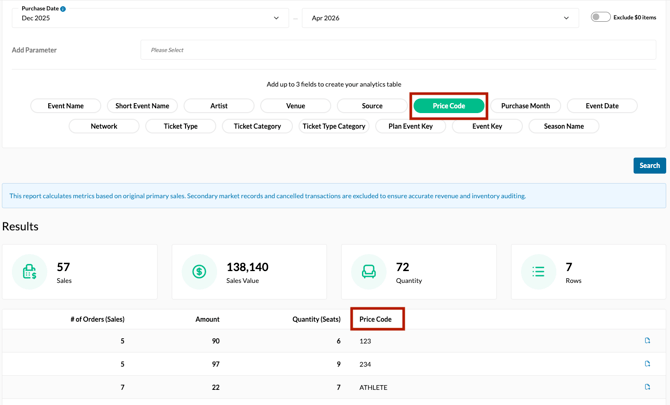
5. Price Code (SKU): These are the “price-sets” your tickets/items are grouped in. The classic example is General Admission vs VIP.
Price Codes are pulled from your ticketing integrations, so make sure that your venues use the same naming conventions across the board. (I.e. if you’re searching for VIP tickets, and one of your venues has named them “PRIMO tickets instead, they will not show up in your search). Should you run into an issue with inconsistent price code names, you can match multiple price codes to one in “cleanup”
To view all price codes for your business, simply select Price Code and click Search
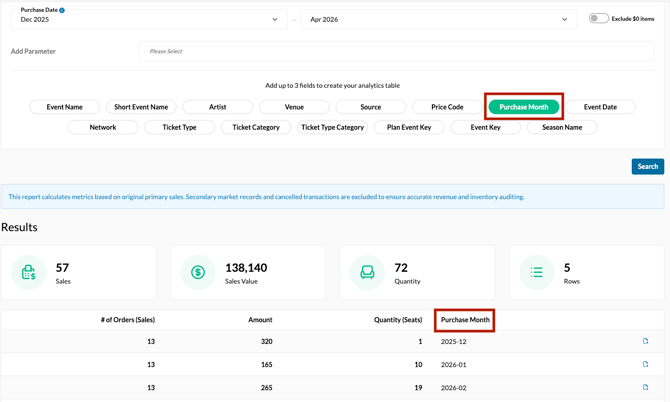
6. Purchase Month
The month and year that each purchase was made within the date range set
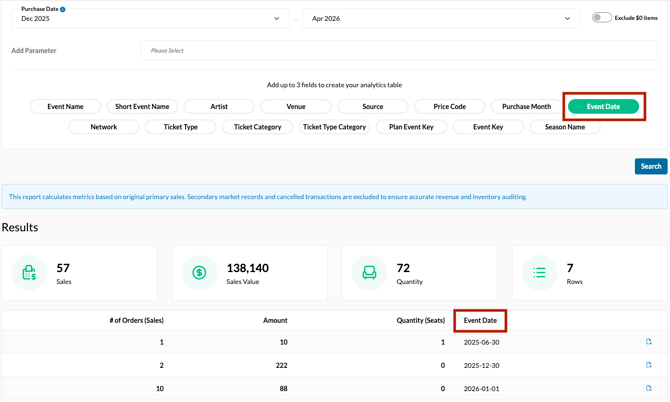
7. Event Date
The specific day, month and year that the purchase was made within the date range set
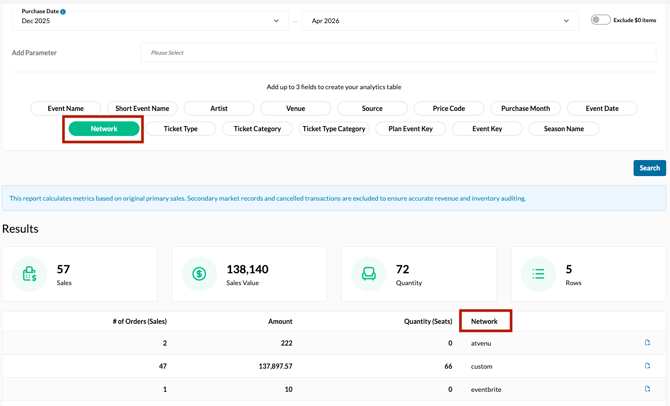
8. Network
The vendor from where the ticketing data is pulling from
The definitions above are how your data is organized within Tradable Bits, and as a result, are the fields that you can pull when you want to analyze your purchasing data.
Still have questions? Please reach out to your Customer Success Manager or contact support@tradablebits.com