Filters are saved searches that help you organize fans.
Filters can be created by using one - or stacking many - parameters:
- General (Metro Area, Location, Zip/Postal Code, etc)
- Affinity (Idols & Related Idols)
- Activity (Campaigns or Businesses interacted with, Days Active/Inactive)
- Trackers (Network, Click Date Range, Key, Group)
- Purchases (Event Name, Purchase Date, Number of Seats, Sale amount, Price Code, etc)
- Registrations (Registered within, event name, price code, etc)
- Custom (advanced - use reg ex to customize your search)
To Create your first Filter, follow these steps:
- In the FanCRM, click 'Search'
- Under 'Search', select one or more parameters from the right side menu to begin.

- In that Parameter, add one or more values to narrow your search
(Pro Tip: you can stack parameters to narrow your search even more!)
4. Click 'Search' (or Estimate Fan Count) to see how many fans satisfy the search criteria.
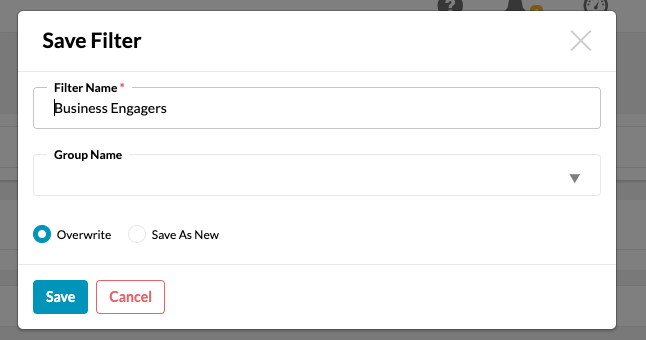
5. When satisfied, click 'Save Filter' and give it a name. You can also choose to Group filters together using Group Name (ie. Ticket buyers, or Non-Purchasers)
 er is
er is
Your filter is now saved!
Fun Fact: Tradable Bits Filters are dynamic - which means that new (or existing) fans who satisfy the set filter parameters will automatically fall in/out of filters as their behaviour changes.
Managing your filters
The Filters section within FanCRM allows you to view and edit all of your filters in one place. The section allows you to view the status of your filters and see how they're being used across your entire Tradable Bits account.
View this section under FanCRM>Filters. 
You can search for specific filters by entering them in the "Search Filters" field, or if you would like to view all the filters under a particular group, you can select the group from the dropdown under "Show Groups".
x The "New Filters" section displays all the recently created filters.
x The "Smart Tag Filters" section displays filters that are currently being used to create Smart Tags. Smart Tags are tags that are automatically added to fans in your CRM based on a set of pre-established conditions (a preset filter).
x The "Used in Audiences" section displays filters that are currently being used as audiences in other areas of the platform (such as Snapshots, Advertising and more).
x The "Not Used" section displays filters that are not being used by any other area of the platform.
Each section, when expanded, houses the following things:
- The name of the filters that belong to the section - The group that the respective filters belong to (if any) - The Audiences or Smart tags that the filters are used in (Can be viewed by hovering over the "?" icon) - The date when the filter was created and the date when it was last searched for in the FanCRM - The number of fans that fit the criteria of the filter - You can edit or delete the filter by hovering over the filter and clicking on the "Pencil" or "Trash" icon respectively.
The "Not Used" section also has a button that allows you to delete all the filters that are not being used in any section of the platform. Simply click the "Erase All" button in order to do so.
Still need assistance? Please reach out to your Customer Success Team or contact support@tradablebits.com