Idols are a great way to get to know your fans on a more personal level. By seeing which specific artists, sponsors, teams, and podcasts they're into, you get a much clearer picture of who they show affinity towards.
Tagging fans with these interests allows you to personalize your marketing, build segmented audiences, and run effective ads.
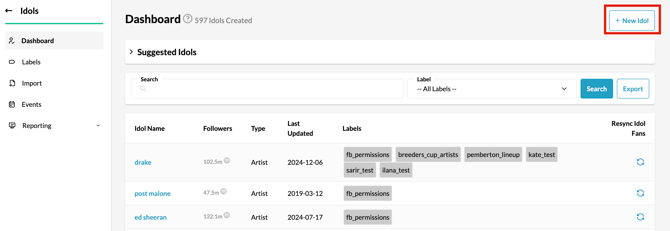
Adding a New Idol
- From your Tradable Bits Homepage, go to the Top Navigation Bar and hover your mouse over the Idols Icon and click on Dashboard.
- On the top right corner, click + New Idol.
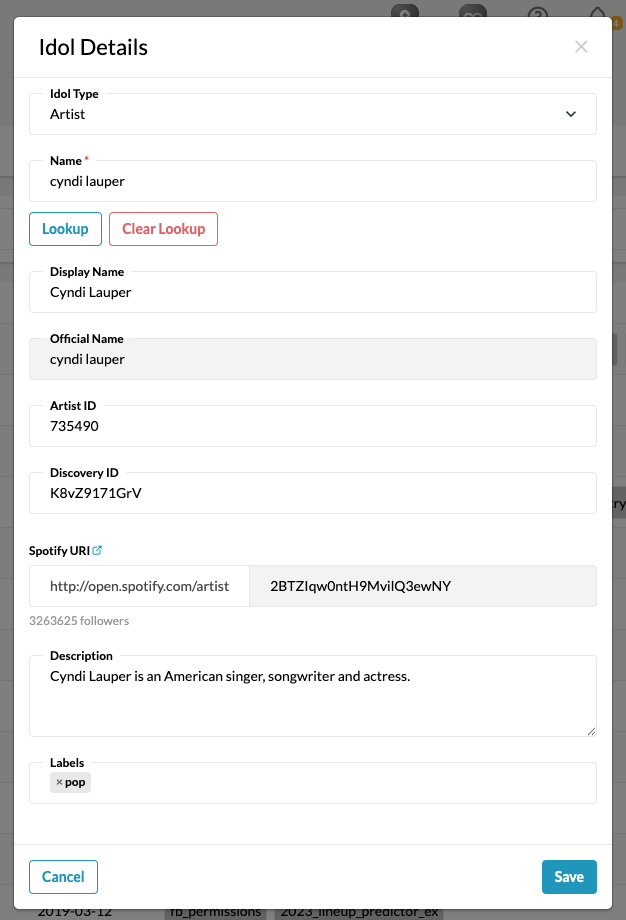
Creating an Artist Idol
Once you have clicked + New Idol, choose Artist as your Idol Type and follow these steps:
- Enter your desired Idol's name and hit "Lookup" and it will pull a Spotify ID associated with this Idol name.
- Other Optional steps include:
-
- Display Name: Personalize the name that will appear on the Idol's profile.
- Artist ID: This ID is used for ad tracking and generally matches the partner's own ID for that artist on their website.
- Discovery ID: Add the artist's specific ID used by the Ticketmaster Discovery API.
- Description: Provide a detailed description to give more context about the Idol.
- Labels: Some labels may be automatically suggested based on the artist's genre. You can also add your own custom labels here.
Please note: Artist ID and Discovery do not automatically populate. You must manually add this information to your Idols.
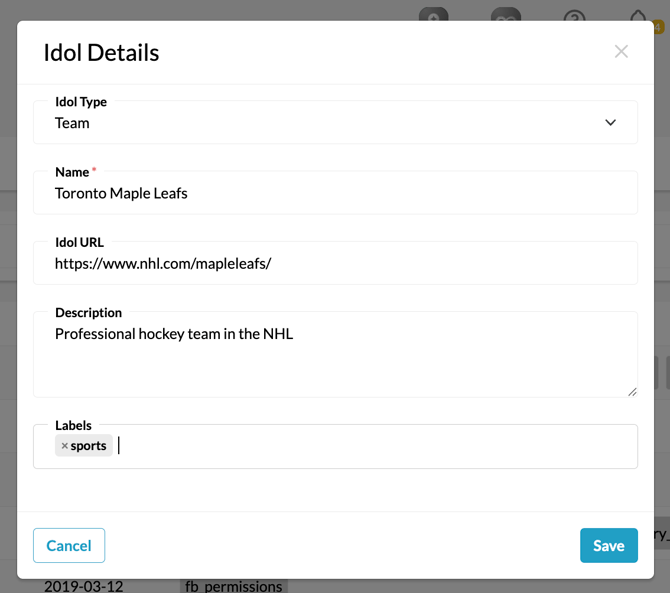
Creating Other Types of Idols
Click on + New Idol and using the dropdown choose what type of Idol you would like to create; Sponsor, Podcast, Team, or Other.
- Enter your desired Idol's name, this name will appear on the Idol's profile.
- Other optional steps include:
- Idol URL: Add your Idol's website link to their profile.
- Description: Provide a detailed description to give more context about the Idol.
- Labels: You can add labels here to segment your Idols further.
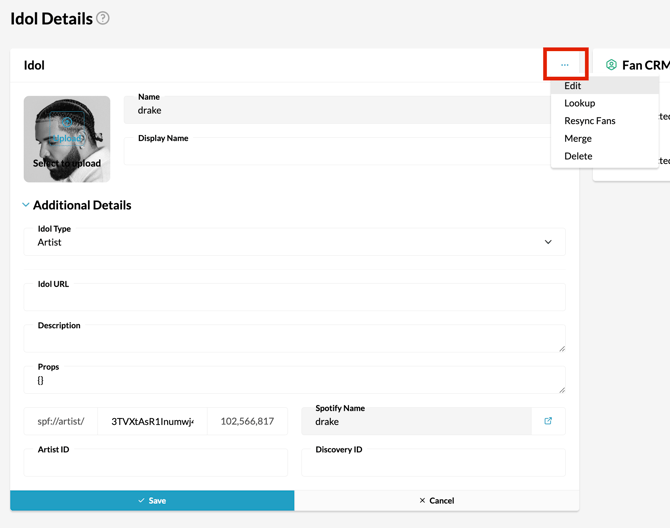
Editing Idols
After an Idol is created, it will appear in the main table on your Dashboard. You can also use the search bar to find it. To edit an existing Idol, follow these steps:
- Find your desired Idol using the search bar and click on the Idol Name.
- Find the three dots on the Idol profile, a dropdown menu will appear and select edit.
-
From here, you can edit the Idol's profile. Upload a new profile picture, add additional details, and make any other necessary changes.
Pro Tip: You can also create a unique label for each of your Idols, which will tag fans in Fan CRM that are connected with that Idol. This is not a necessary step though, as you can see which Idols fans are connected with if you go into their individual Fan CRM profiles.
Still need assistance? Please reach out to your Customer Success Team or contact support@tradablebits.com